Python and pip install is a nice way to install your system. We will be installing Python in this tutorial, along with Pip install which helps us getting various packages in our system easier. Python helps us with scripts, website updates, web crawling and many other tasks. It simply is a wonderful coding language. Its syntax is nice to read and quick to get learn writing with it.
Python
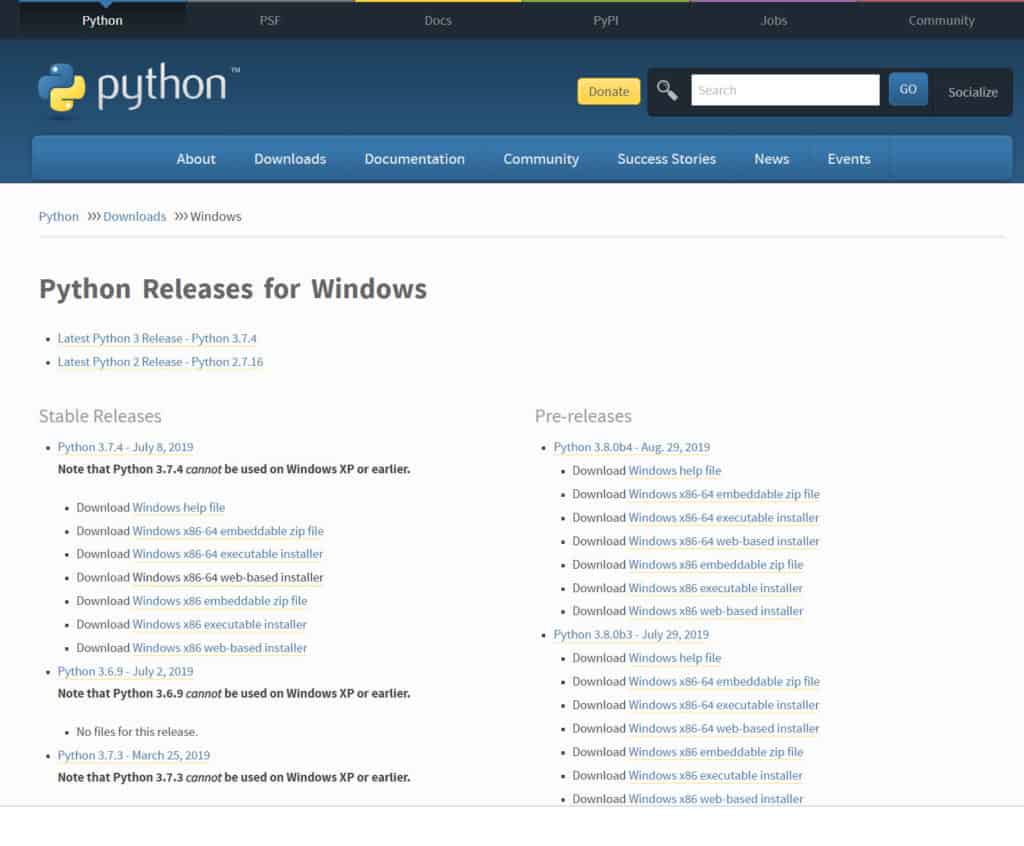
We will be visiting the Python official webpage on this link. We will be installing the current version of Python (at the time of writing this article it was 3.7.4). Click on the download button for the web-based installation and start the installation file after the browser has finished downloading.
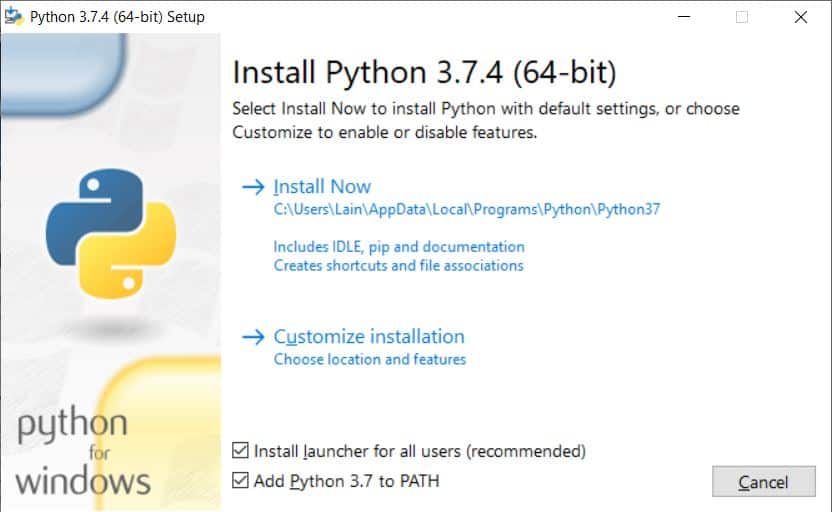
We want Python to be accessible from any PATH location so we will be ticking the option “Add Python 3.7 to PATH”. Then click on “Install Now” option and wait for the software to finish the installation.
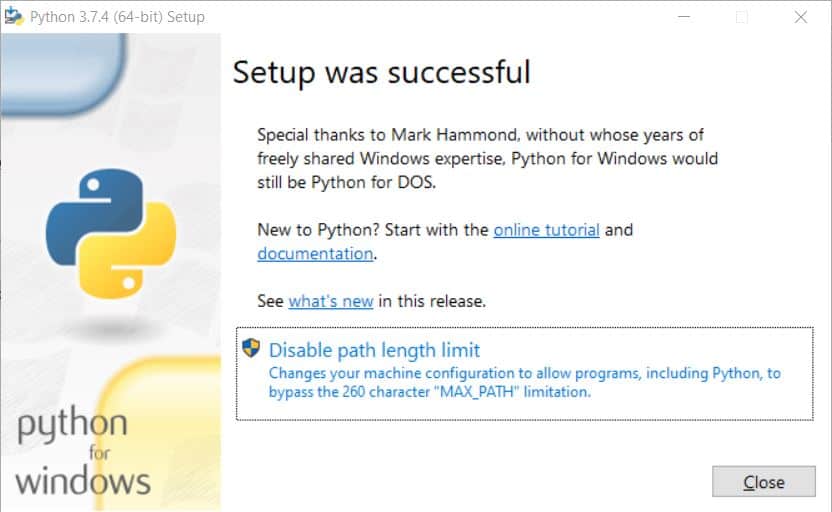
On the end of the installation, we will be choosing the option to “Disable path length limit”. After that click Close as Python is successfully installed.
2. Install Pip
When we install Python we can prepare the system to accept Pip. Follow this link to download get-pip.py file from our GitHub and store it to a location on your hard drive.
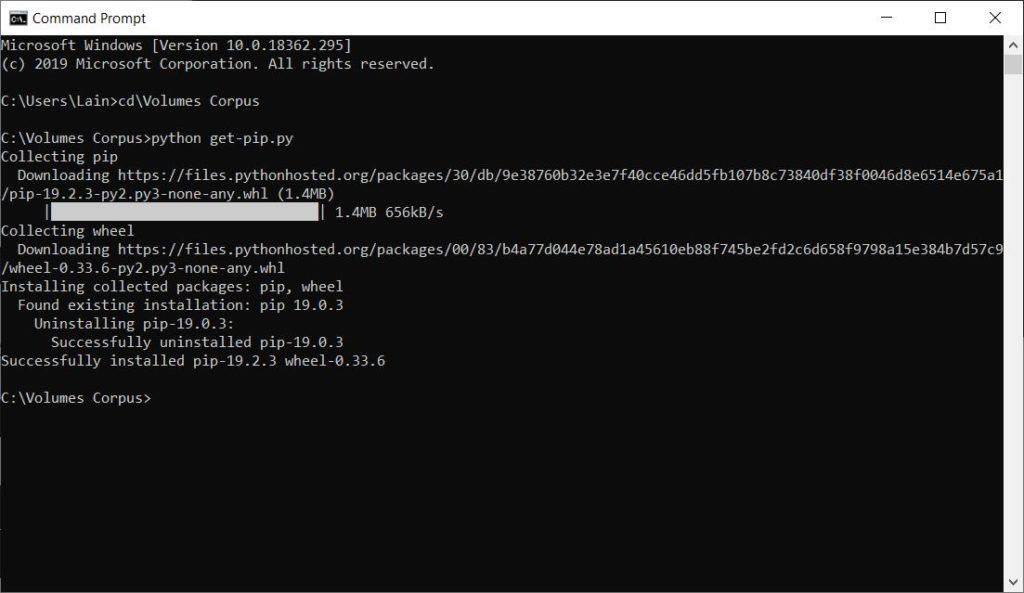
Run CMD and visit the location of the downloaded file. Then run the following code:
C:> python get-pip.py
After the process has finished you can delete the “get-pip.py” file and start using Pip in your Windows 10 system.
You can verify that Pip is installed correctly when you type “pip -V” in the CMD.
C:> pip -V
In conclusion, we successfully installed pip on our windows system.
we have now pip installed on our Windows system.
You can find more tutorials on the link: https://wtp-web.com/blog/
If you have any suggestions on how to improve this article we are always happy to receive your feedback. Send us an e-mail feedback@wtp-web.com. Thank you for reading and happy computing!
