
Proxmox VE is a popular open-source server virtualization platform that allows users to create and manage virtual machines (VMs) and containers. Proxmox VE 7, the latest version of the platform, was released in September 2021 and includes several new features and enhancements. Here is a summary of what’s new in Proxmox VE 7:
- New Kernel: Proxmox VE 7 includes a new Linux kernel (5.11), which provides better hardware support and improved performance.
- New web-based console: Proxmox VE 7 includes a new web-based console that allows users to access VMs and containers directly from their web browser without the need for a separate VNC viewer.
- Improved Backup and Restore: Proxmox VE 7 includes improvements to the built-in backup and restore feature, including support for incremental backups and the ability to schedule backups.
- Improved ZFS integration: Proxmox VE 7 includes improved integration with ZFS, a popular file system and logical volume manager. The platform now supports ZFS on Linux (ZoL) and allows users to easily create and manage ZFS pools and datasets.
- Improved High Availability (HA): Proxmox VE 7 includes improvements to the built-in high availability feature, including faster failover times and improved reliability.
- Improved Security: Proxmox VE 7 includes several security enhancements, including improved TLS support, better password policies, and support for two-factor authentication.
- Improved User Management: Proxmox VE 7 includes improvements to the user management interface, including the ability to create custom roles and permissions for users.
Overall, Proxmox VE 7 offers a number of new features and improvements that make it an even more powerful and flexible virtualization platform for users. With its combination of ease of use and powerful features, Proxmox VE is a great choice for both small businesses and enterprise-level users.
What do I need to do to have a good working Proxmox server after installing a fresh copy
1. Always update your Proxmox installation
2. Enable IOMMU
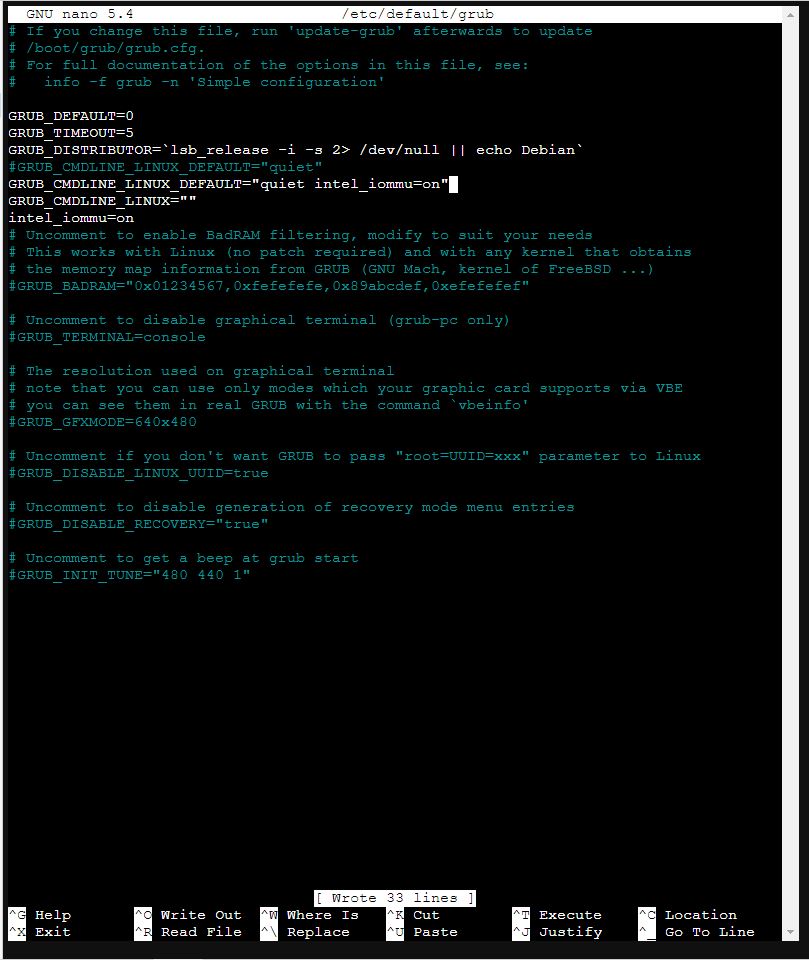
SSH into your Proxmox server or visit the console. Run the code: nano /etc/default/grub to open the file.
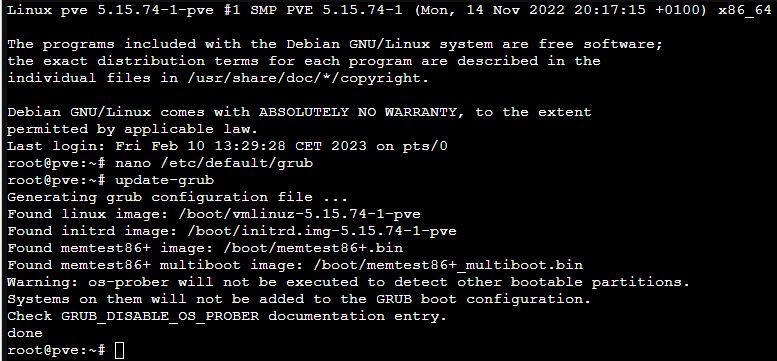
After editing the file we need to run UPDATE-GRUB in the shell.
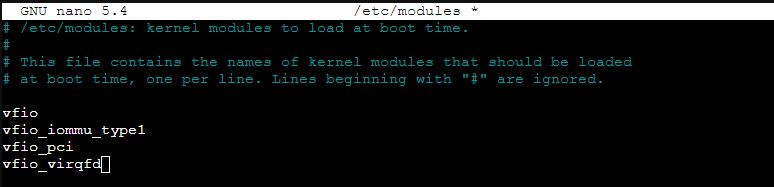
Now we need to edit modules: nano /etc/modules
vfio
vfio_iommu_type1
vfio_pci
vfio_virqfd
After which we need to reboot the machine.
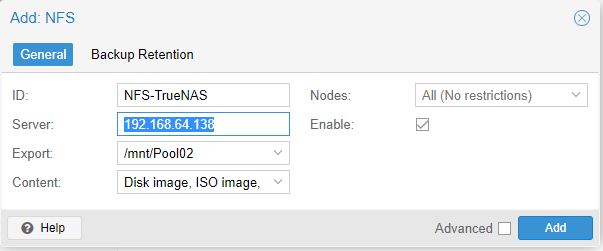
3. Set a NFS share. You visit Datacenter and Storage. Add a NFS share. Setup the ID and server IP. If done correctly, you should see below the share folder.
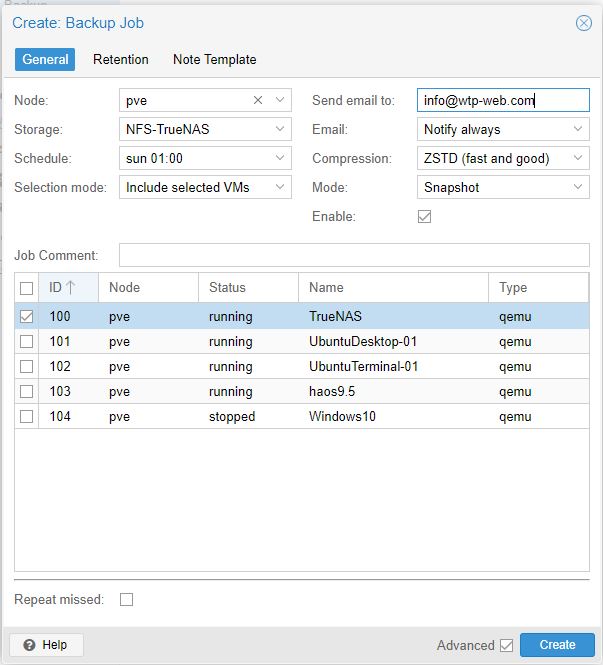
4. Setup backups.
5. Upload the VirtIO ISO to be able to install Windows 10 on the Proxmox server.