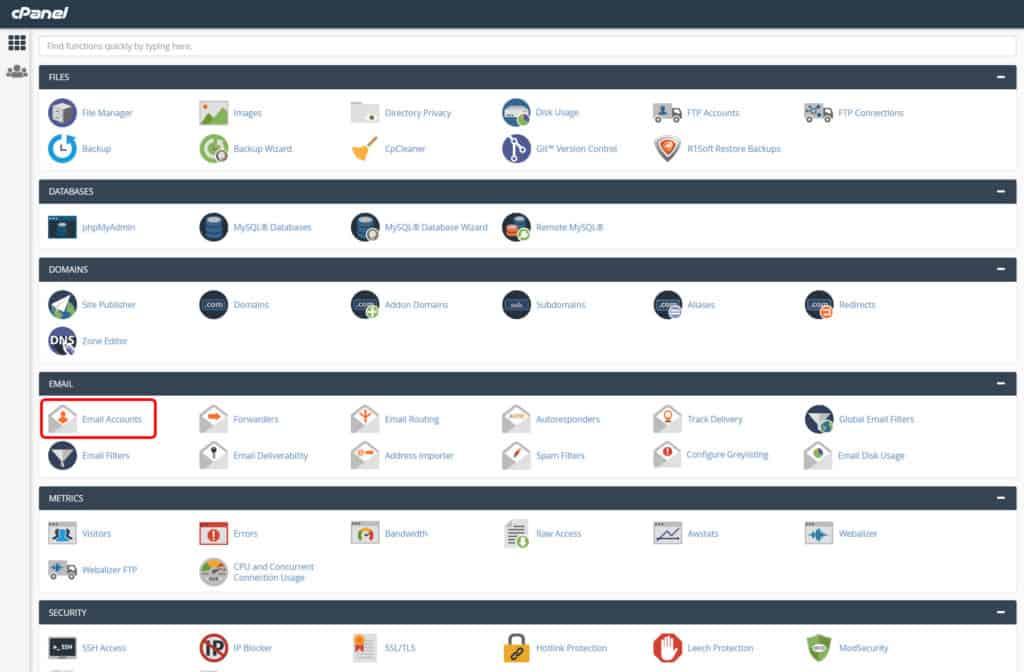
In this “Creating an e-mail in cPanel” tutorial we will be looking at How to create a new e-mail for your domain in cPanel on your server. After logging in to the system you can choose the “Email Accounts” icon under “EMAIL” section of cPanel.
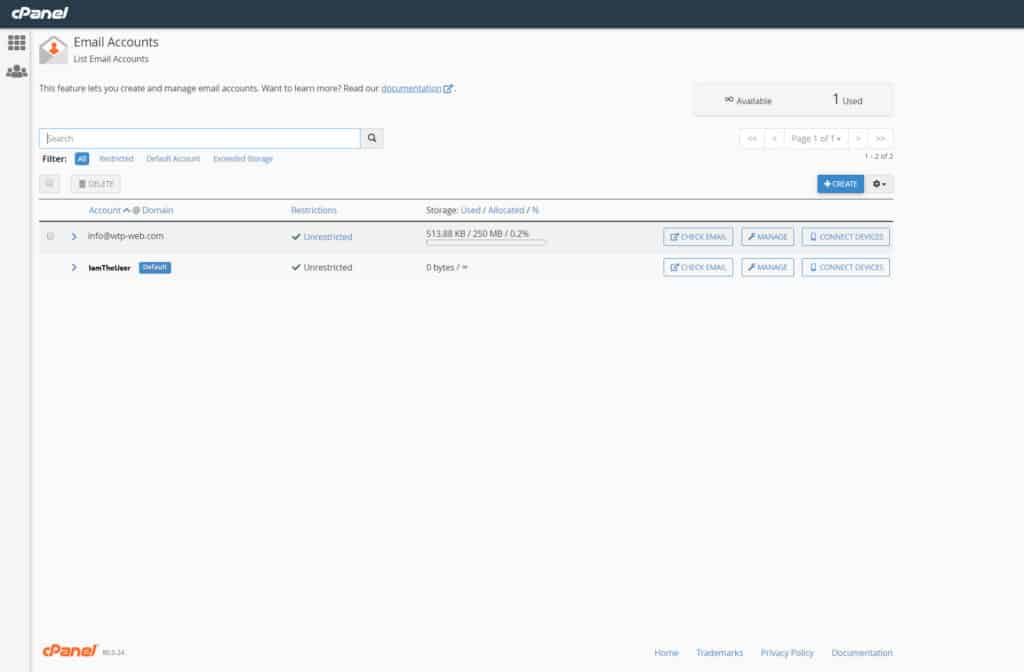
Select the option “+CREATE” to make a new e-mail address.
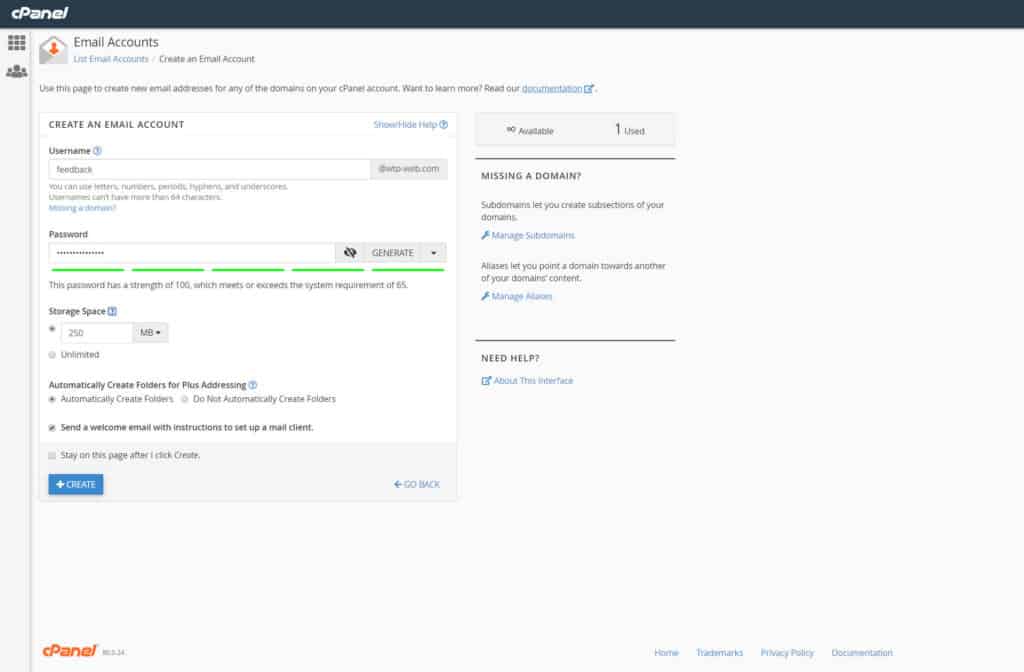
Type in your desired e-mail name and password, setup if there is restriction on the size of the e-mail box and if you want to receive an automatic e-mail with the setup for your e-mail downloading software.
After that, select “CREATE”.
You can access your mail now trough Outlook, Thunderbird, webmail server etc. Upon first login you can choose what is your default Webmail Application.
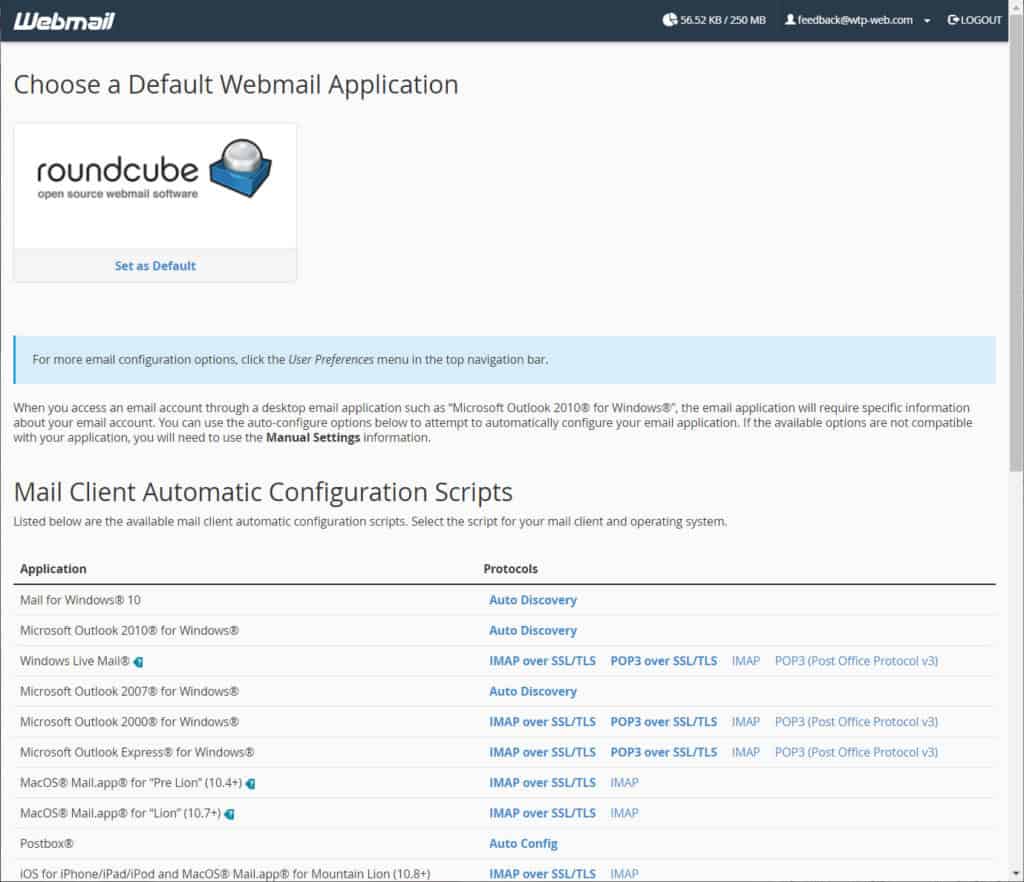
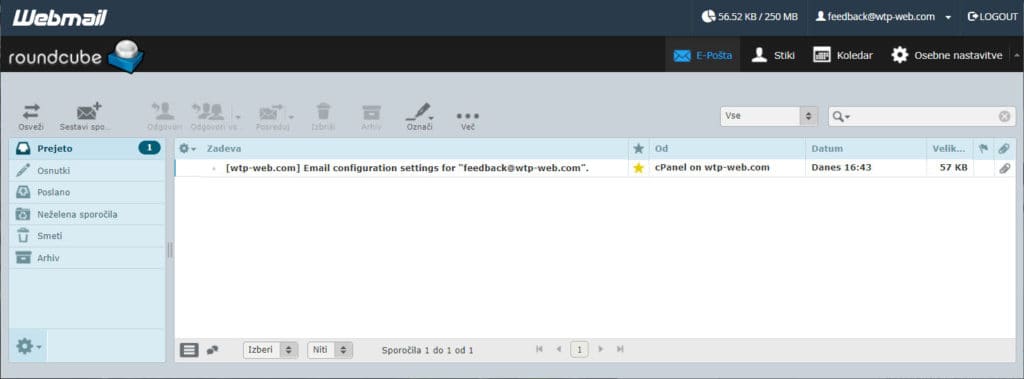
In our case, we will use “roundcube” so we will click on “Set as Default”. Then we can navigate to our webmail interface.
In conclusion, Creating an e-mail in cPanel is easy.
We can now use our new e-mail. We used this procedure for many of our domains (like wtp-promotions.com).
You can find more tutorials on the link: https://wtp-web.com/blog/
If you have any suggestions on how to improve this article we are always happy to receive your feedback. Send us an e-mail feedback@wtp-web.com. Thank you for reading and happy computing!