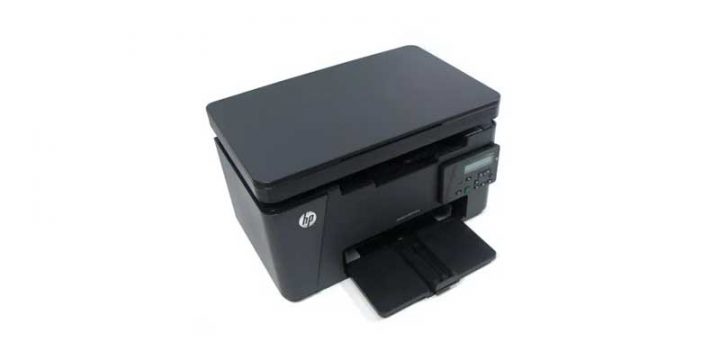
The printer HP LaserJet Pro MFP M125nw has been with us for quite a while, working perfectly without any problems. The only issue was setting it up correctly so it was accessible to all the computers in our office. Here is how we did it.
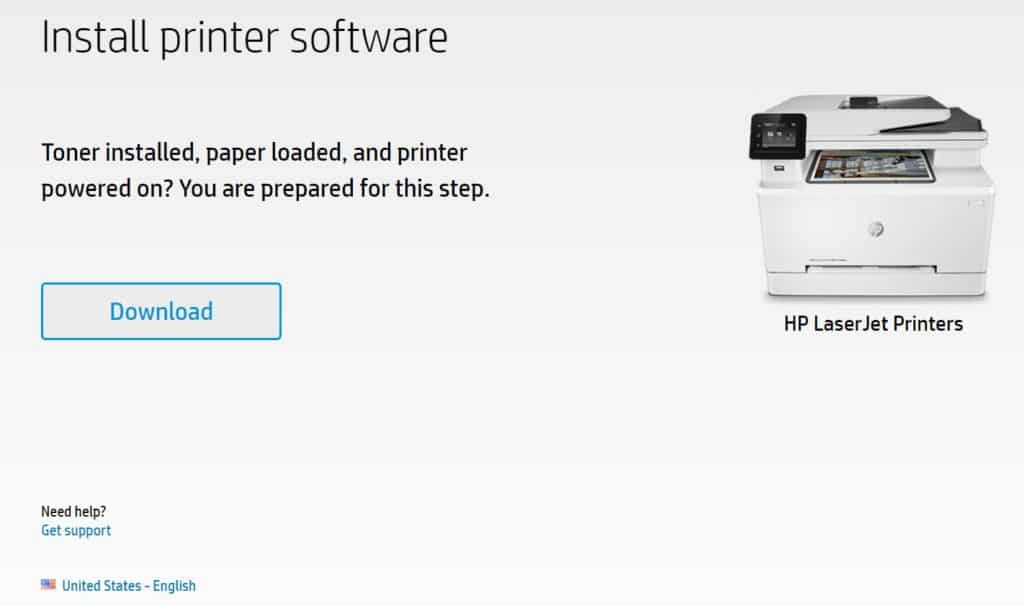
To access the printer trough its Wi-Fi point you need to first download the installer program from: https://123.hp.com/us/en/devices/laserjet?openCLC=true
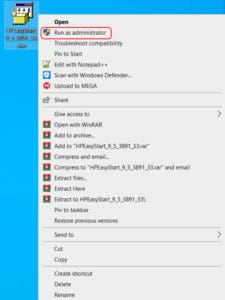
After the file is downloaded start the installation with Admin privileges (right-click run as Admin).
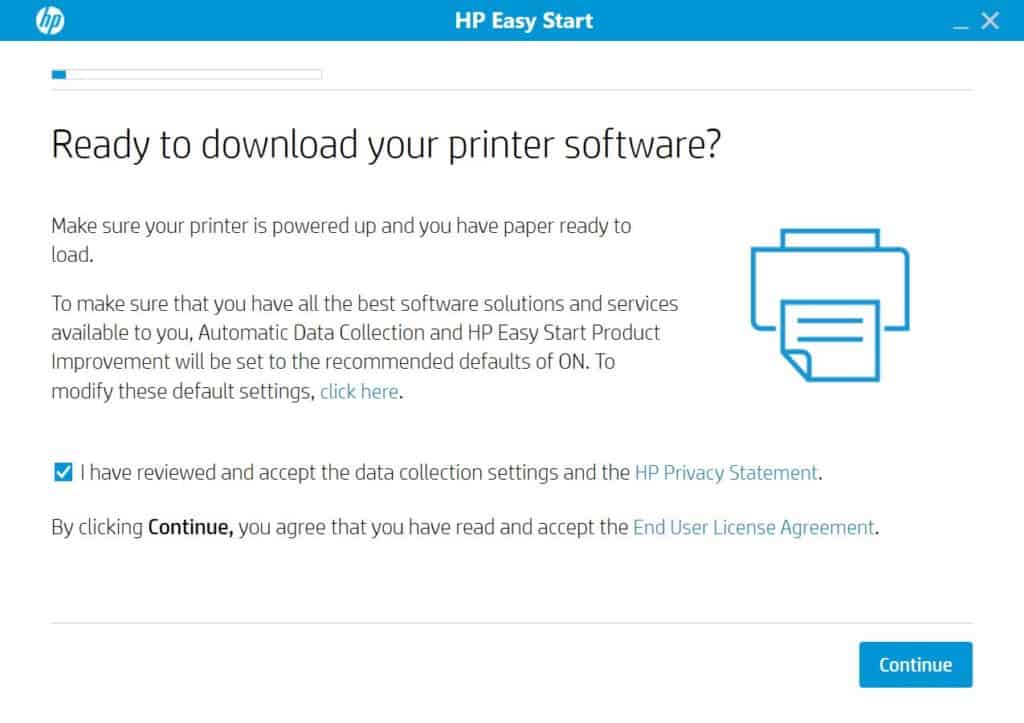
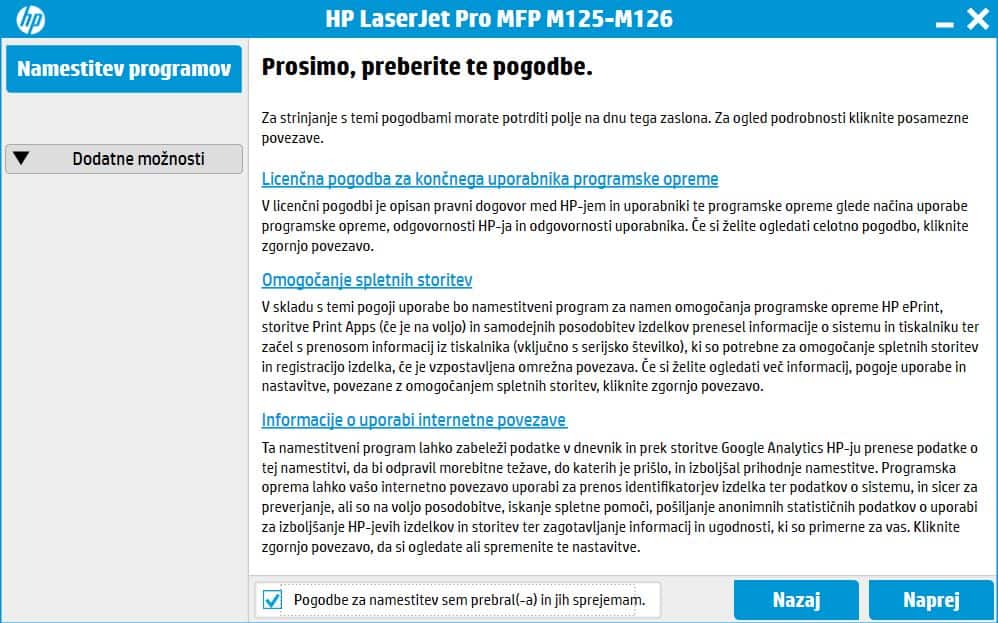
Agree with the terms and click »continue«.
If the printer connected correctly for the first time you should be seeing your printer name and the IP address of the printer. Continue and the menu should follow about selecting drivers and software to install. You can then set the printer as default and print the test page.

Our printer is the only one in the office and we will be setting it up as the main printer or default printer.
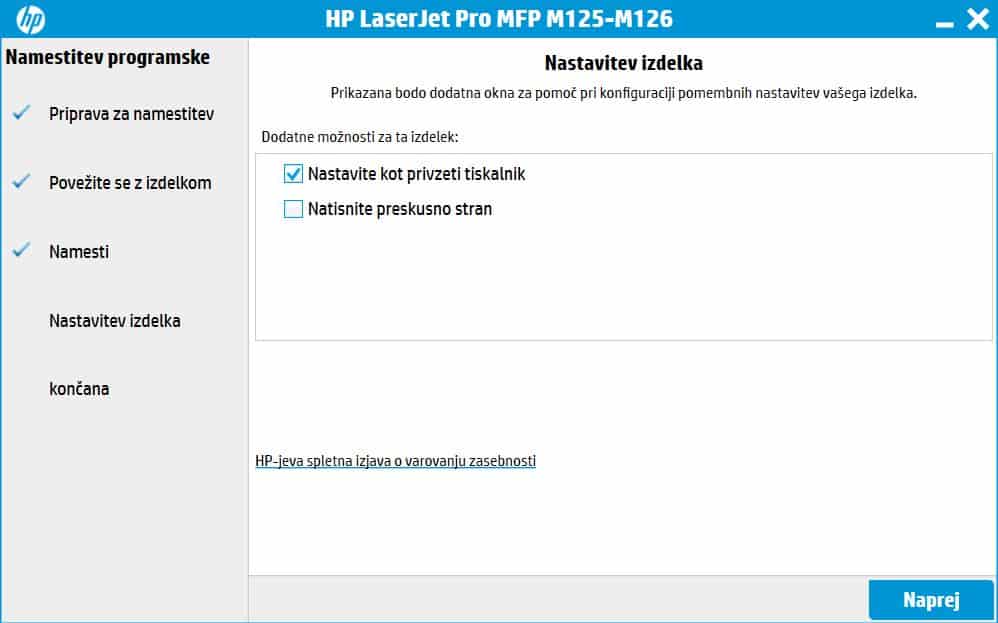
We wont be using HP printing, but you can set this part as you choose.
After again agreeing with some more of their terms you click next.
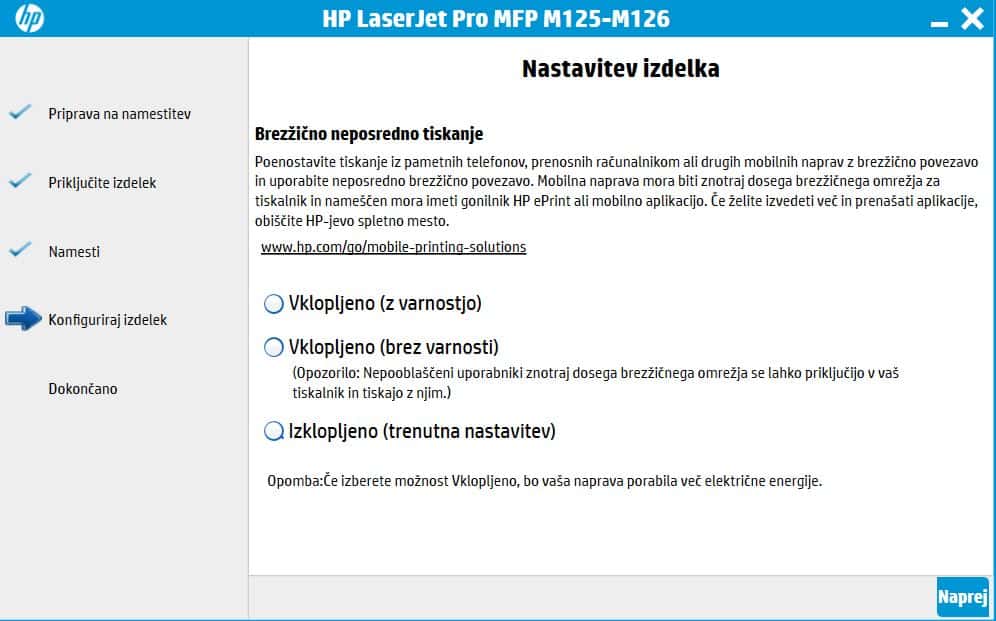
After the installation is done, the computer on which you installed the drives should be able to access the Wifi connected printer (so the printer has no ethernet cable).
You can read more about the printer on the this link, where we made a short review.
In conclusion, we have connected our printer HP LaserJet Pro MFP M125nw to the wi-fi.
You can find more tutorials on the link: https://wtp-web.com/blog/
If you have any suggestions on how to improve this article we are always happy to receive your feedback. Send us an e-mail [email protected]. Thank you for reading and happy computing!