
Installing Windows 10 system is easier nowadays with all the online tutorials and guides available on the internet. Our guide is not different than any others, although we also added a section in the blog on how to set up you motherboard to correctly boot USB drive installations (images are taken of the ASUS BIOS, but the procedure should be similar on other platforms).
Requirements:
USB 8 GB drive ready with Windows 10 installation – guide on how to prepare the USB drive can be found HERE
We need to set up the BIOS correctly in order for Windows 10 to install properly. Let’s set your BIOS in such a way that UEFI is accepted when running the installation from the USB device. You also need to setup the boot to be primarily from the USB drive – BIOSes have also the option for 1 time boot from USB drive for the purpose of installations or testing.
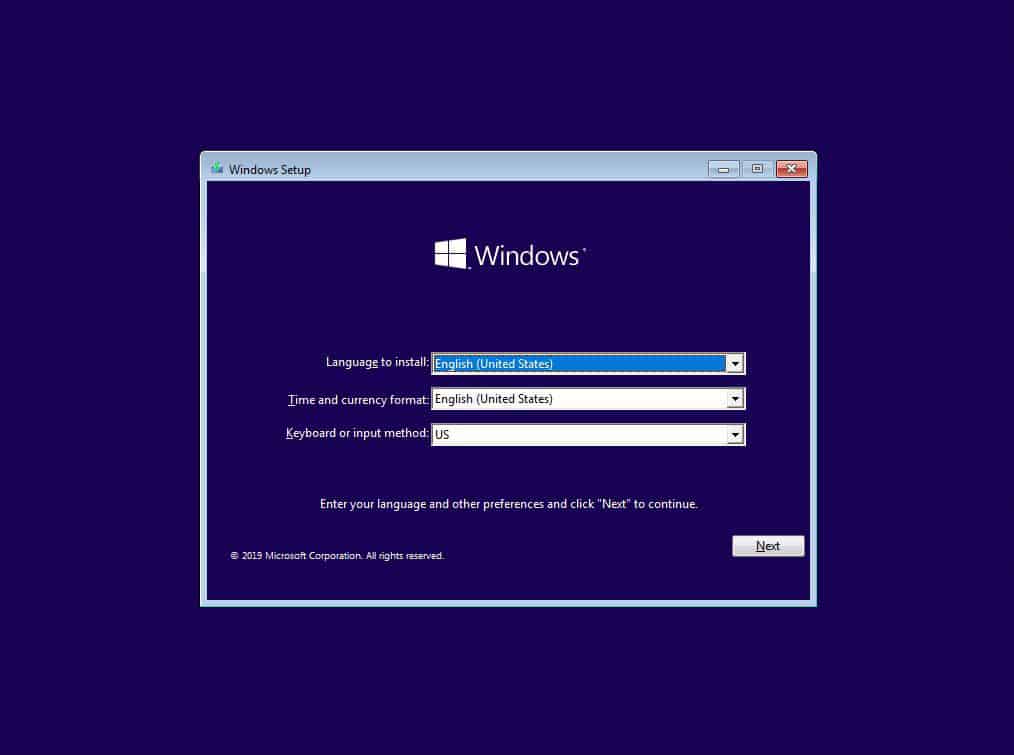
After the initial run, you can proceed with the standard Windows 10 installation. You will be presented with the Setup menu, choose your language and keyboard layout and click next and then Install now.
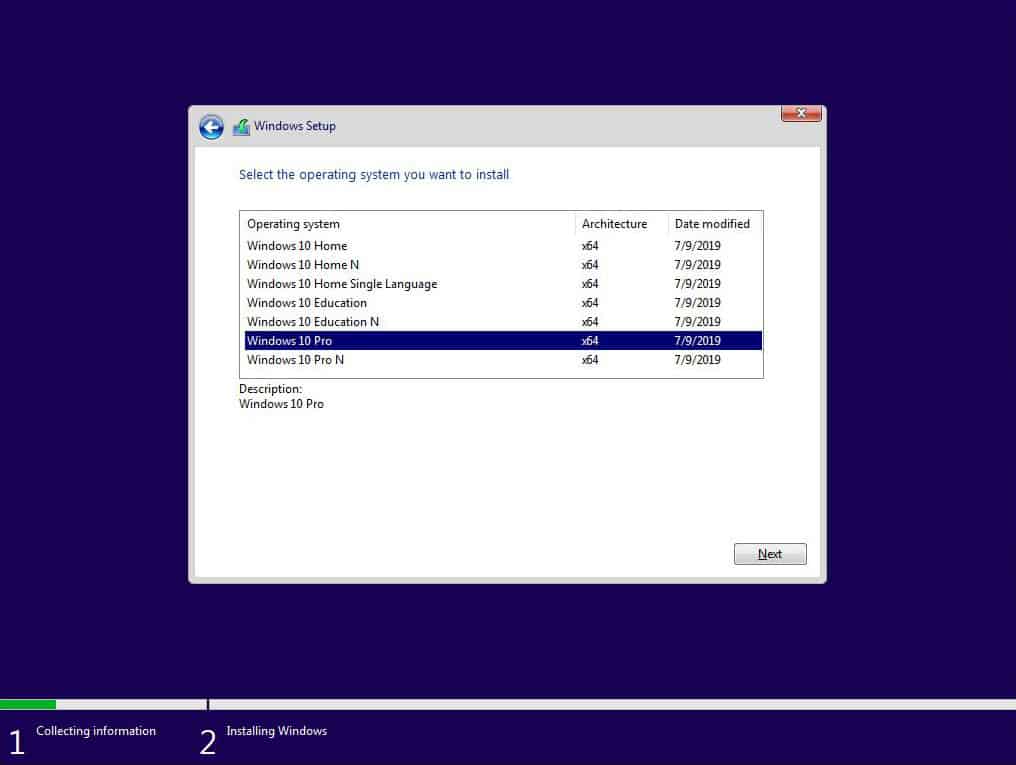
Input your serial number or you can choose to insert it at a later time and choose the correct Windows 10 version for your system.
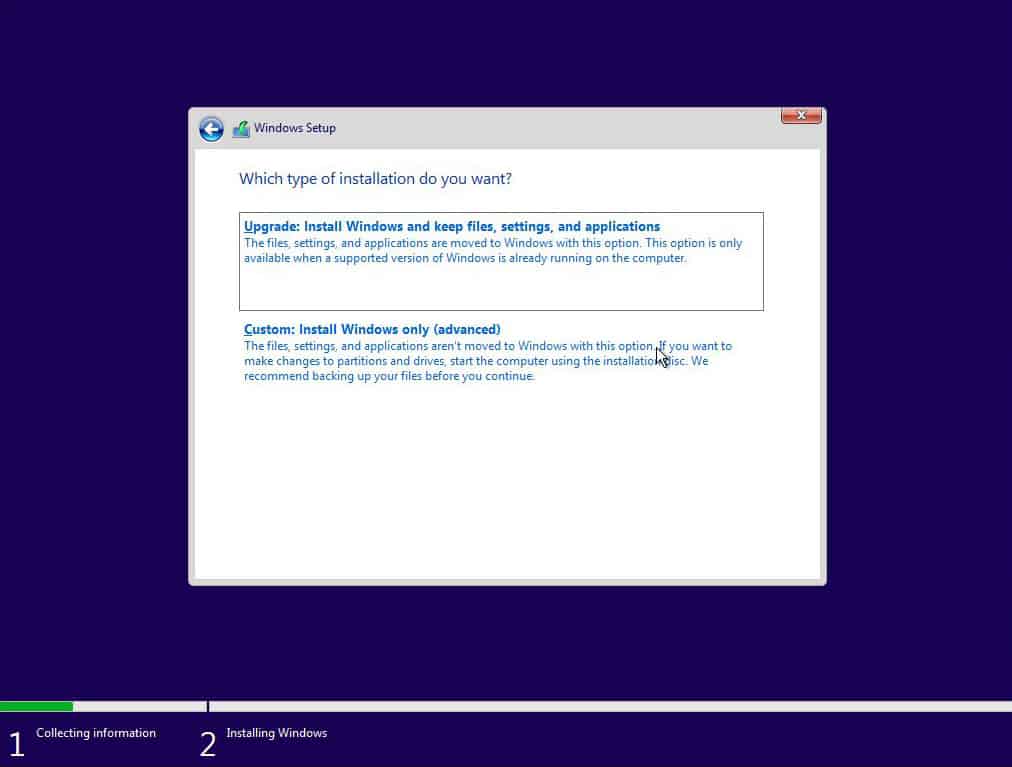
Accept the license agreement and choose if you want to upgrade (if you want existing files to remain on the hard drive) or custom install, where you get a fresh copy of Windows. For our purpose, we want a blank system so we choose Custom: Install Windows only (advanced).
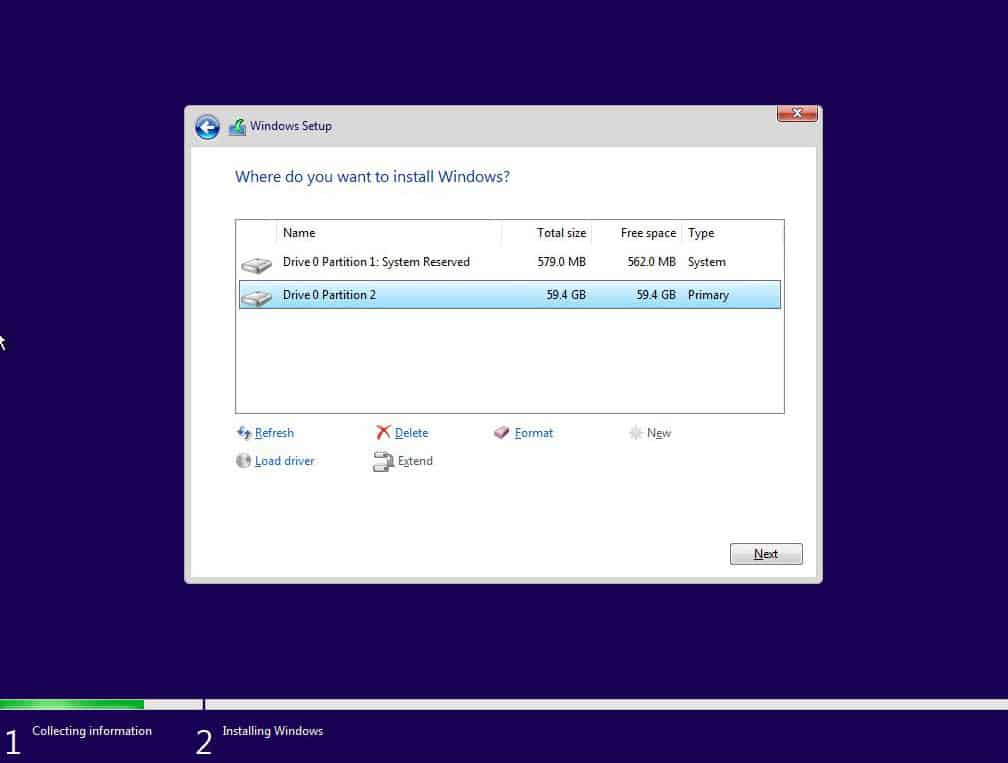
Choose the option New and allocate the space to the virtual machine. Click ok as Windows system alerts you that it will create additional partitions.
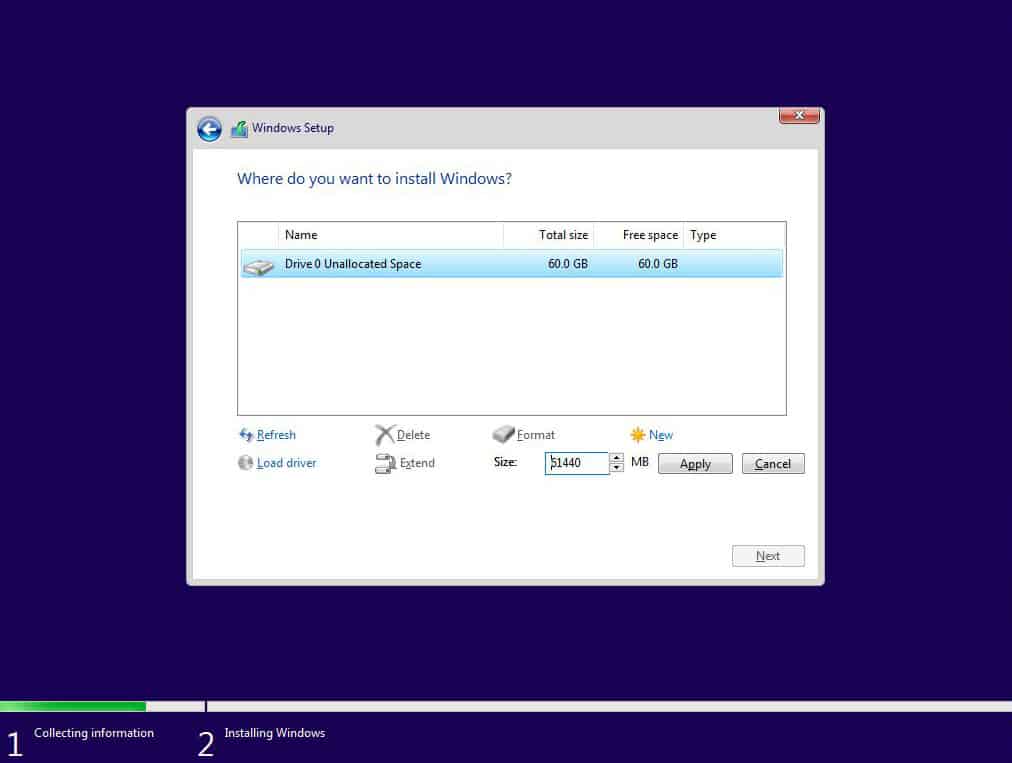
At this point you can choose the Partition meant for installation and click Next.
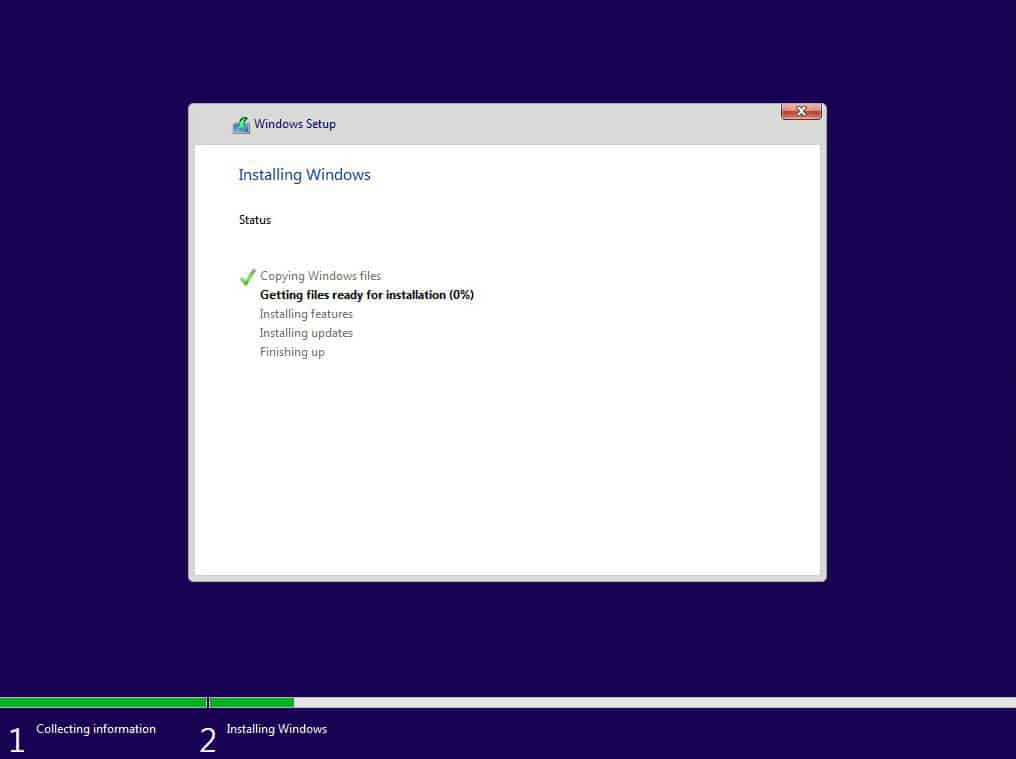
Windows system will start Copying and installing files, features etc. We will need to wait for this process to finish up.
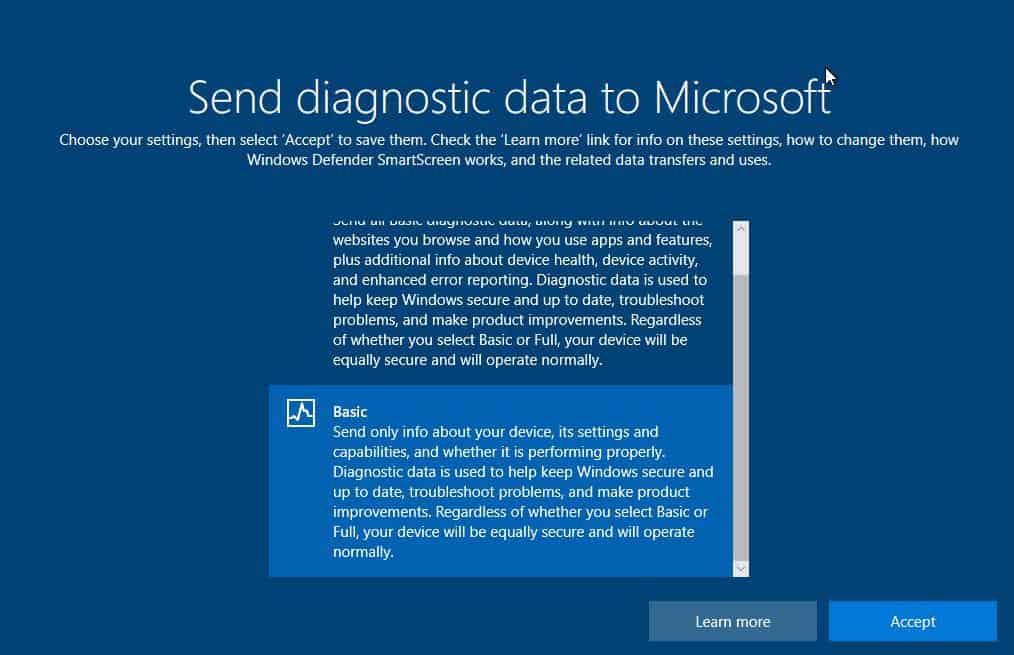
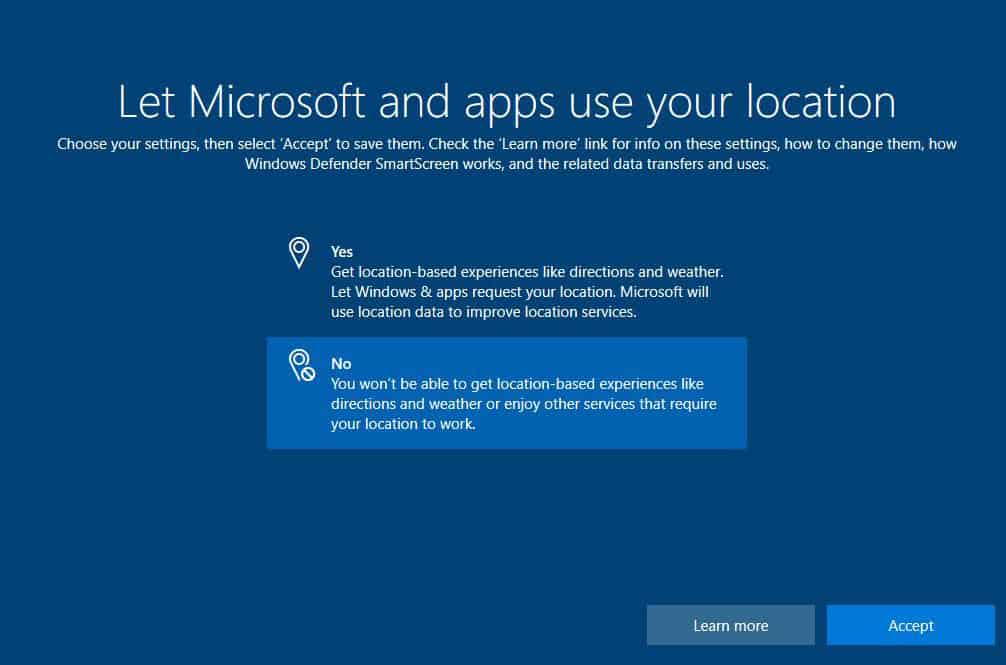
All we need to do at this point is pointing out a few preferences for Windows 10. We will disable as many options as possible from the standard option that Windows 10 gives us is prefered.
Set up:
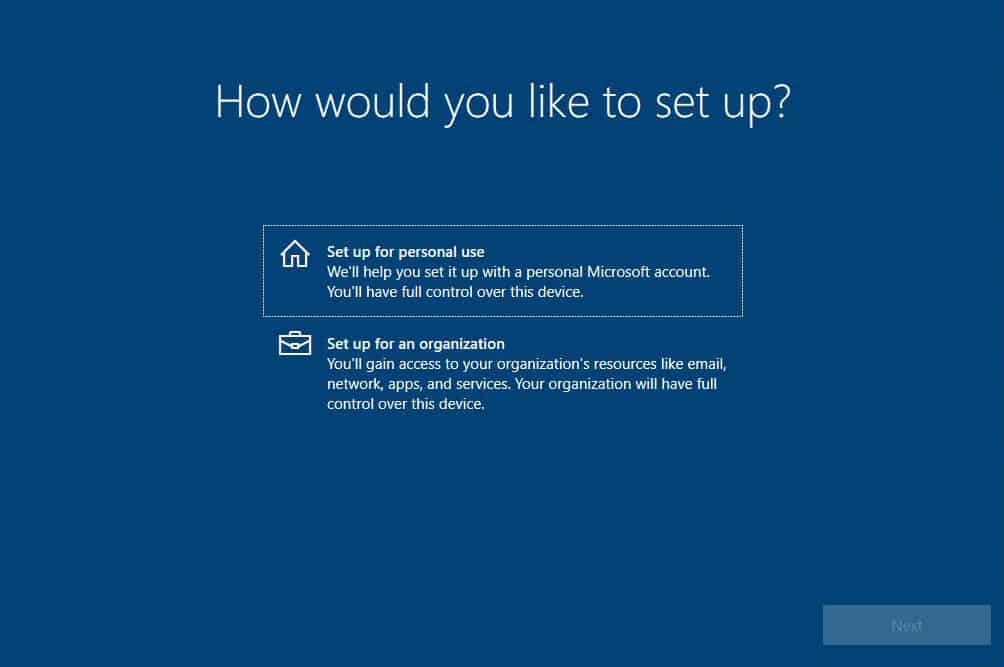
Setting up the region, keyboard layout, networking option (done automatically). We will be setting up the computer for Personal use and with an Offline account.
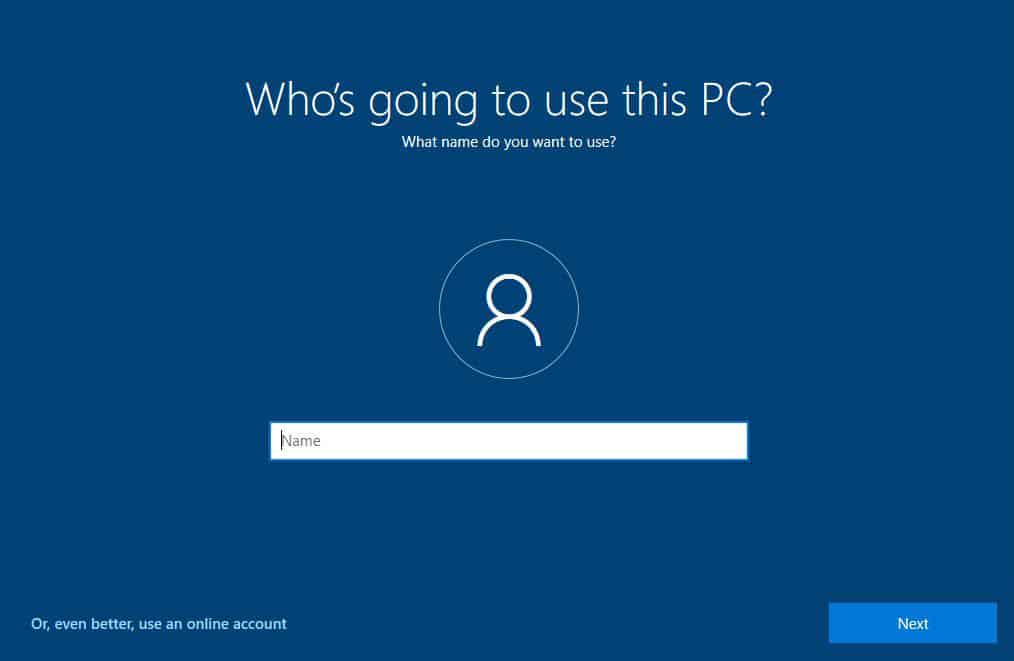
Now we need to name the User who will be using the system and password for access.
If you want you can, but we won’t be using any of the special features Windows offers us. So basically, you go for “No” or “Basic” each time.
At this point your fresh Windows 10 system should be up and running.
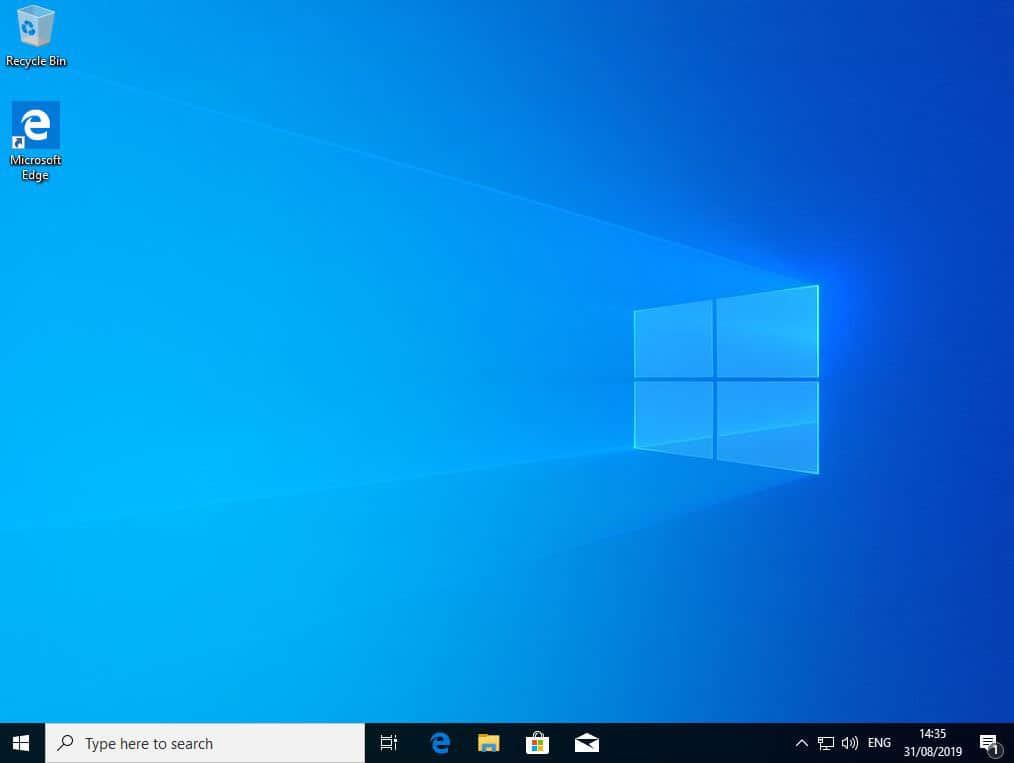
In conclusion, after we finish installing Windows 10 on our computer it should work.
You can find more tutorials on the link: https://wtp-web.com/blog/
Check also our webshop: wtp-promotions.com
In addition, if you have any suggestions on how to improve this article let us know. Send us an e-mail to [email protected]. Thank you for reading and happy computing!