Working with databases, migrations, testing and so on, we found that installing MySQL Workbench comes really handy for using direct database connections. A program for remotely connecting to databases. The program is offering us usage standard SQL syntax, importing databases, exporting databases, editing and so on. What is really useful with larger databases is that there is no limit when it comes to “time-out” as can be seen with connections trough browsers.
How to remotely access your databse
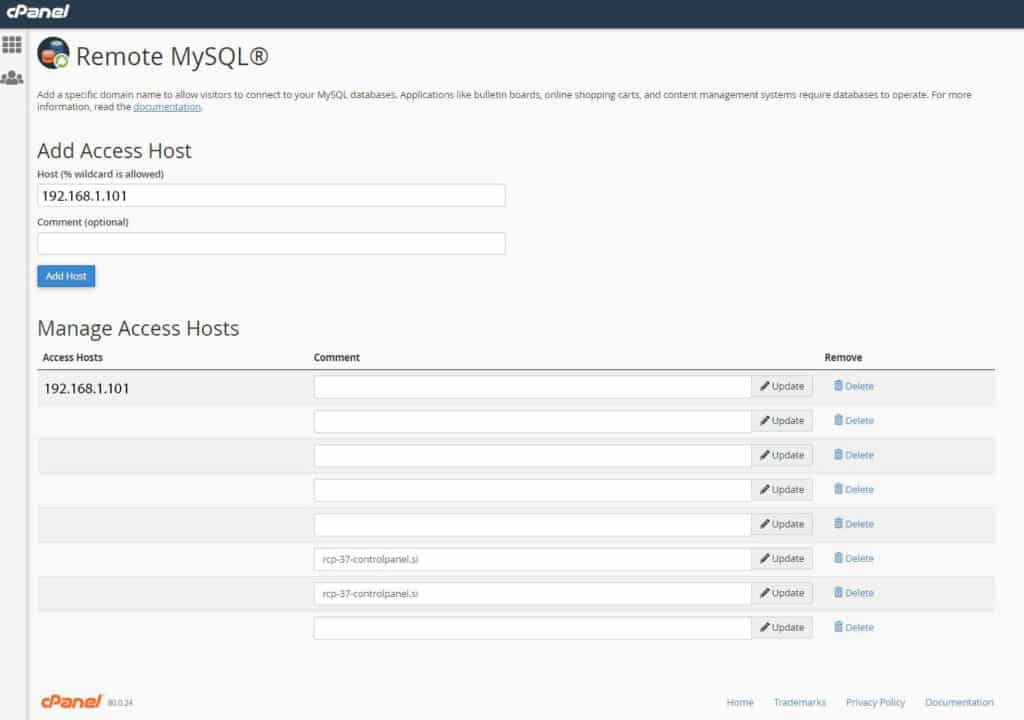
To remotely access your database you will need to first grant access to your public IP address. You can check what your IP is by following google or by following this link which leads to whatismyipaddress.com. Copy the address into your cPanel – Remote MySQL section on your server.
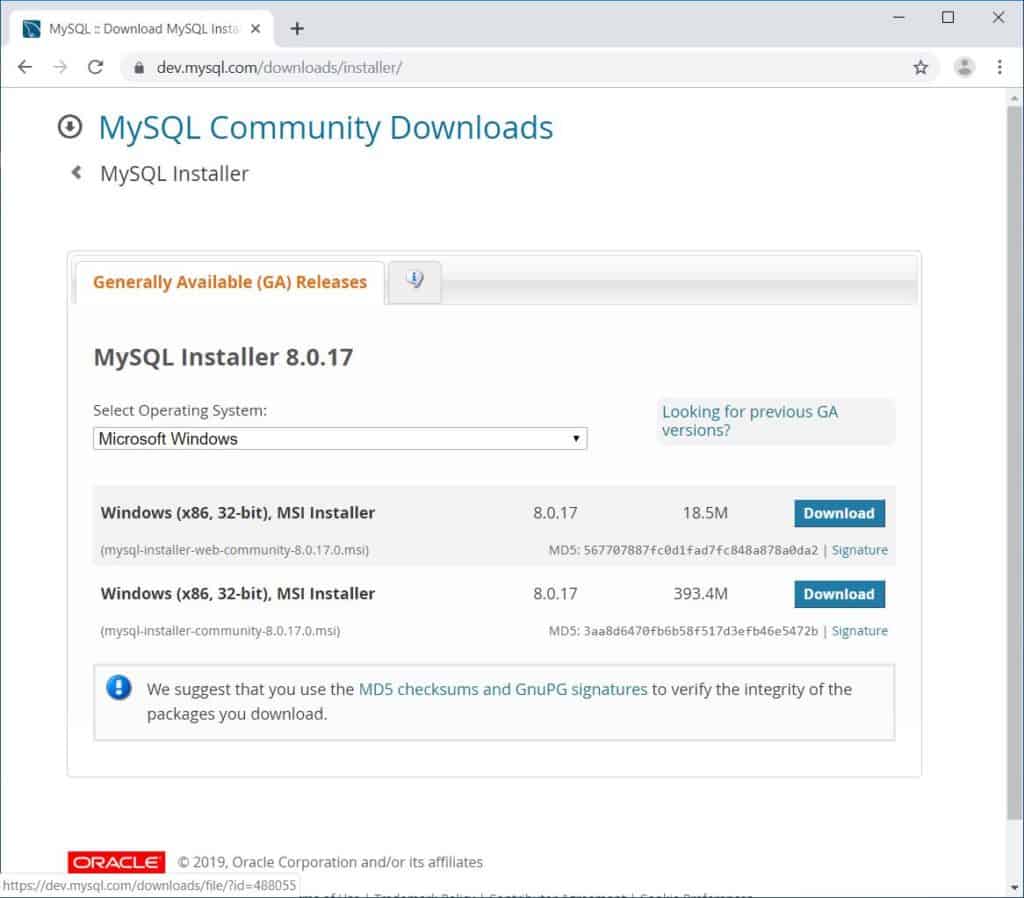
After you have successfully added your IP address you can download MySQL Workbench of their official website:
https://dev.mysql.com/downloads/windows/
We downloaded the web version (smaller) and then downloaded the rest with the installation UI.
After the download process is finished, run the installation file. We will be installing the “Full” version of the Workbench with all the goodies along with it.
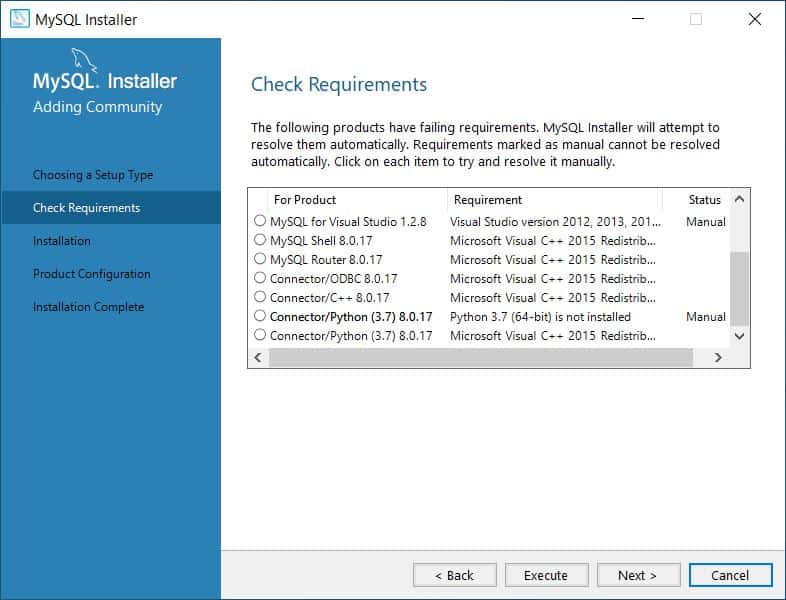
Click on Execute and follow along with all the installation process (Visual C++, Python etc). For all the features to work you need to have Excel installed and download certain parts individually (for example Python).
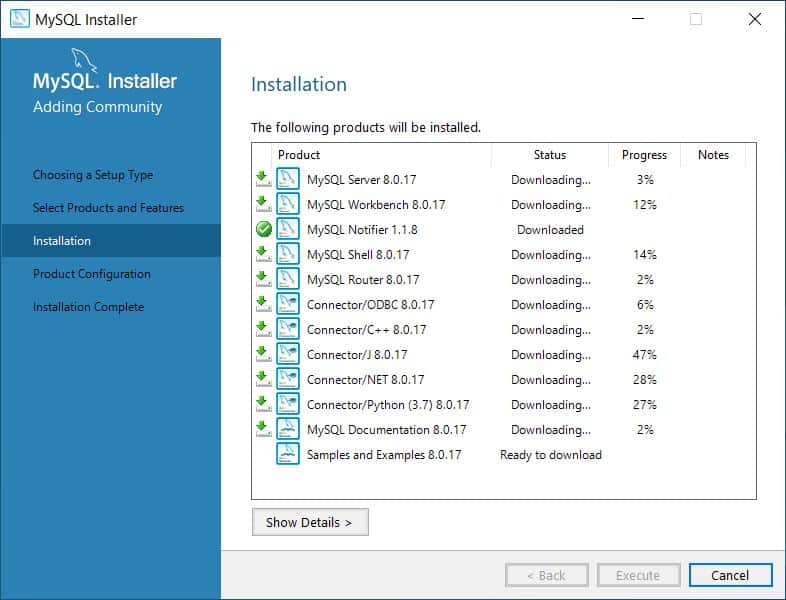
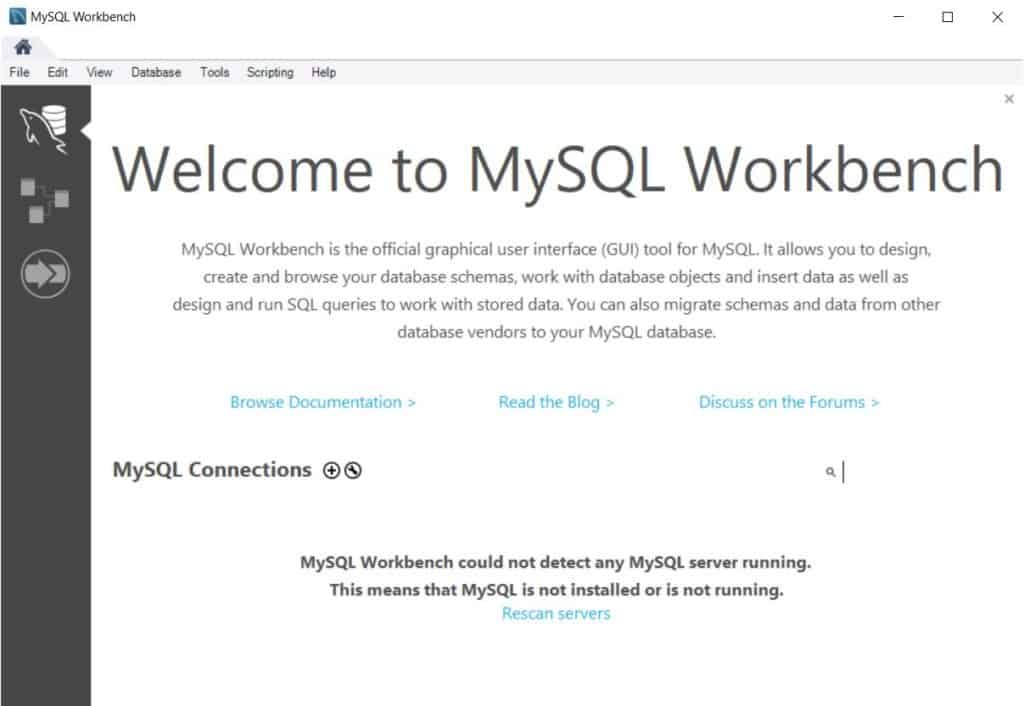
After the updates and installing the files the Workbench should be up and running.
Lets create our first connections to our MySQL Database:
As we don’t have any test sites to offer you, you will need to use your own data in regards to connecting your Workbench to an actual MySQL database.
Click on the + button and a new menu should pop-up – Setup New Connection.
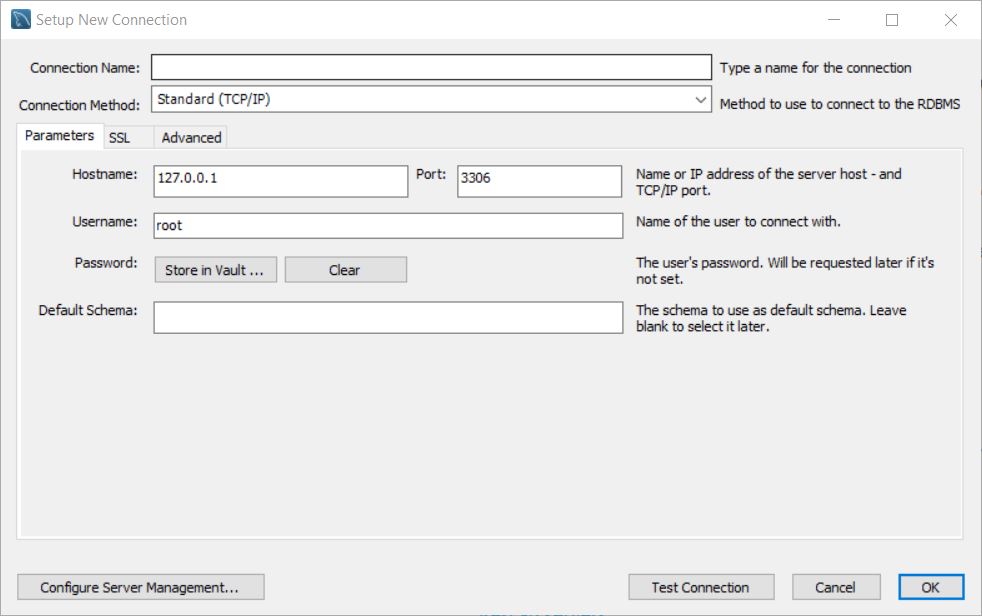
You can set the “Connection Name”, Hostname (usually IP address or web address), port, username etc. You will be prompt for password after the initial connection to your database. We usually use the “Standard (TCP/IP) connection”.
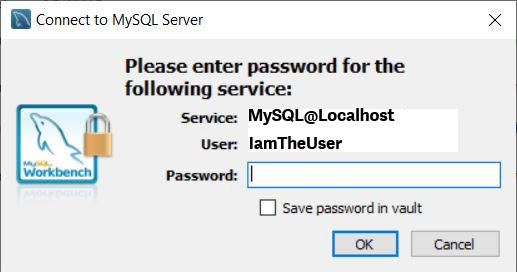
You can test your connection if you click on “Test Connection” in the bottom right corner. You will be prompt for the “password” which you can then store in the vault by ticking the “Save password in vault” option.
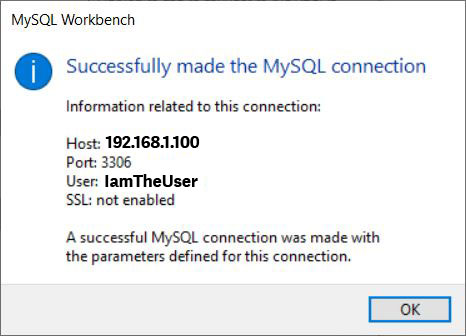
After a successful connection you will receive a message as seen on bellow image.
Now you can connect to your MySQL Database by clicking the newly formed connection on the home tab – the connected software should look something like this.

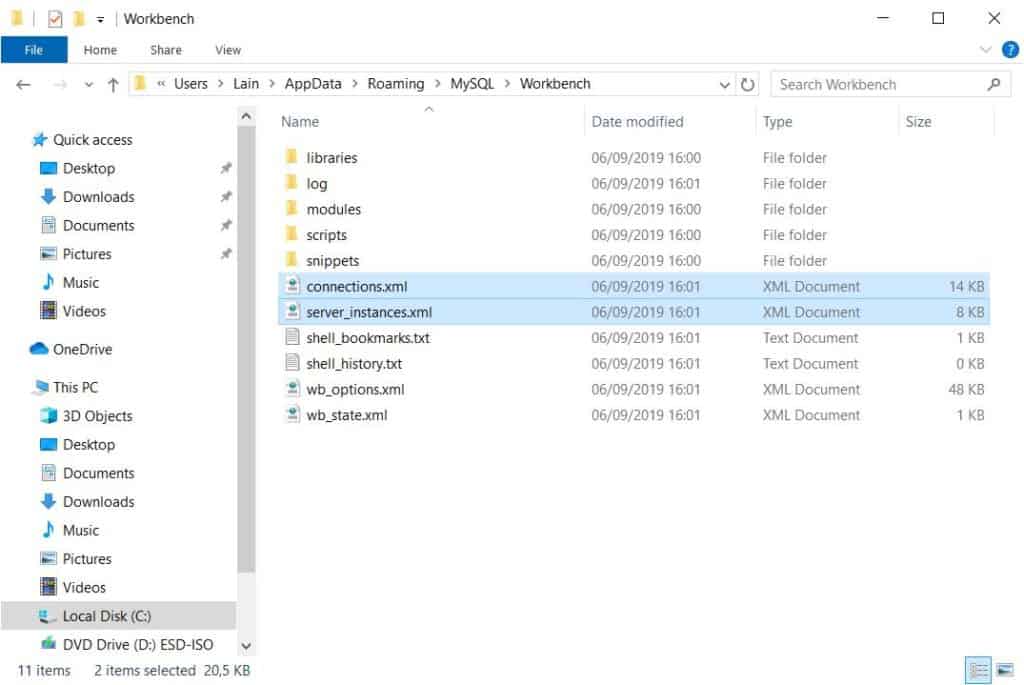
Backing up your local connections of MySQL Workbench:
You can backup the connections to various databases by copying files server_instances.xml and connections.xml to:
C:Users”USER”AppDataRoamingMySQLWorkbench
If you don’t see the AppData folder you can check our blog post about setting up File explorer to see Hidden folders and file extensions here.